Quick Start
Get Commandeck running and your first button working in about two minutes.
1. Launch Commandeck
After installing Commandeck, launch it — open Commandeck from your applications menu (or run the AppImage you downloaded).
The first launch seeds your grid with a set of ready-to-use default buttons organised into categories such as Hardware, Network, and Development (the exact set matches your operating system). No setup needed — click any of them to run the command immediately.
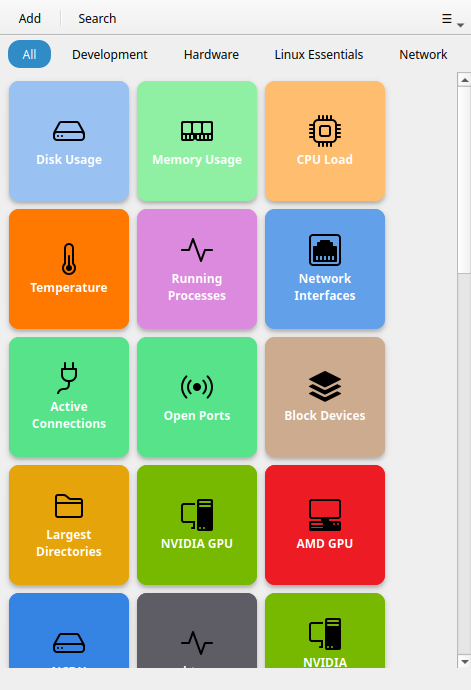
2. Run a default button
Click Disk Usage to see your filesystem at a glance. A toast notification confirms success. Click it again while holding no modifier to just run it silently.
For commands that produce output (like Disk Usage), the result appears in a small dialog automatically.
3. Create your first custom button
- Press Ctrl+N (or click + in the header bar)
- Fill in Label — the text shown on the button
- Fill in Command — any shell command, for example
ping -c 4 8.8.8.8 - Click Save
Your button appears in the grid. Click it to run the command.
Tip
The free tier includes unlimited local buttons. Commandeck Pro adds SSH machines, themes and AI.
4. Organise with categories
In the button editor, type a name in the Category field (e.g. Networking). A category dropdown appears in the header bar. Pick the category there to filter the grid to it.
5. Next steps
| What you want to do | Where to look |
|---|---|
| Understand every button field | Button Editor |
| Explore every UI element | Main Window |
| Connect a remote server | SSH Machines |
| Adjust columns, size, theme | Preferences |
| See real-world examples | Use Cases |